WPFresher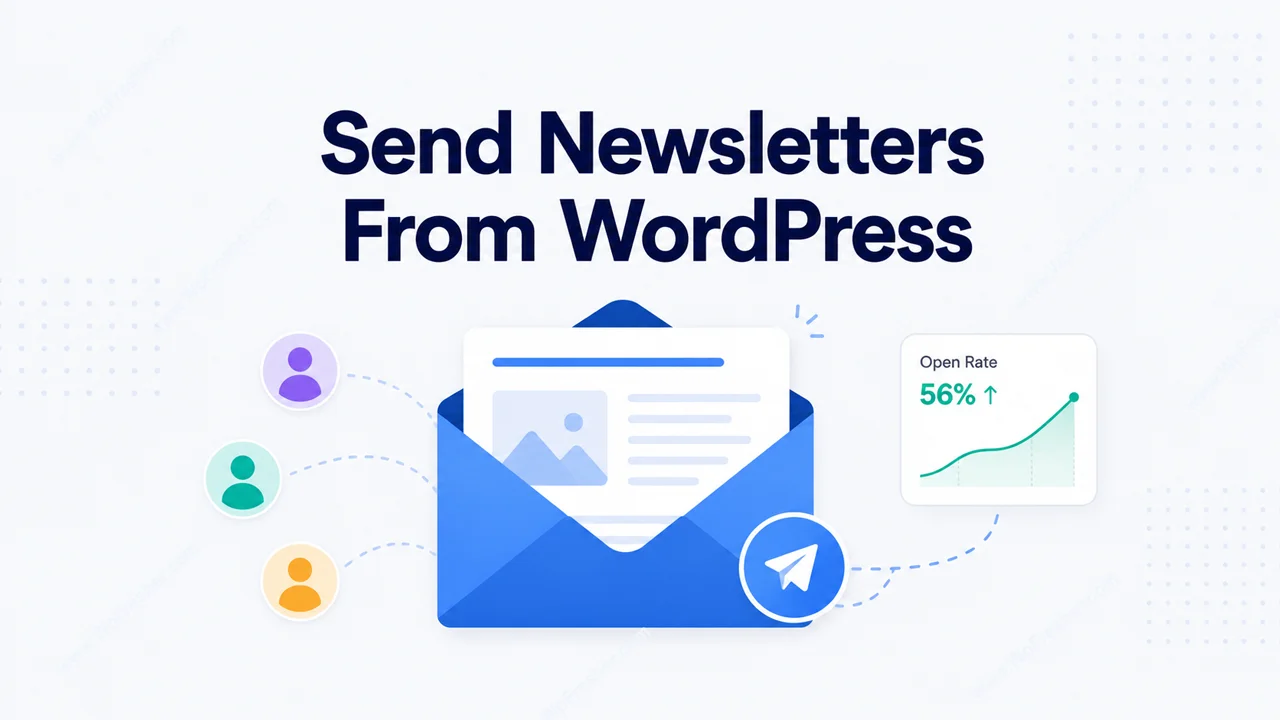
Email is still the best-performing channel most website owners have. It’s the one audience you actually own, and it doesn’t vanish when a platform changes its rules. Yet the usual way to run it means renting that audience from a monthly service, learning a separate dashboard, and paying more as your list grows.
You don’t have to do it that way anymore. Modern WordPress can run your entire email operation from your own dashboard: your contact list, your campaigns, automated follow-ups, and even revenue tracking tied to your store. No monthly SaaS bill, and your subscriber list stays on your server.
In this guide, I’ll show you how to set up email marketing in WordPress from start to finish, and where the line sits between what’s free and what’s worth paying for.
Why Run Email From WordPress?
Keeping your email inside WordPress has some clear advantages:
- You own your list. Your contacts live in your own database, not locked inside someone else’s platform.
- No monthly fees to start. You can run real campaigns and automations without a subscription.
- Your data stays put. Subscribers, stats, and history sit on your server, not a third party’s.
- It connects to your store. If you sell with WooCommerce or Easy Digital Downloads, your customers and your email can finally talk to each other.
The old knock on WordPress email was that it could send a basic newsletter and not much else. That’s no longer true, and the rest of this guide shows why.
What a Full WordPress Email Setup Looks Like Now
A modern setup isn’t just a “send” button. It includes a proper contact list you can tag and segment, campaigns you can schedule, automations that run without you, a way to capture new subscribers from your forms, and, if you sell online, a link between purchases and the emails that drove them. We’ll use the free Send Emails plugin, which covers all of that from inside WordPress.
Here’s how to set it up.
Step 1: Install Send Emails
In your WordPress dashboard, go to Plugins → Add New Plugin, search for Send Emails, then click Install Now and Activate. The plugin stores everything in its own fast database tables rather than cluttering your posts, so it stays quick even with a large list.
Step 2: Build Your Contact List
Head to the Contacts area, which works like a lightweight CRM. You can add contacts with details like name, company, phone, and country, then tag them so you can send to the right group later. Already have a list? Use the CSV import: upload your file, map the columns (it auto-detects most), assign tags, and it brings everyone in, updating existing contacts instead of creating duplicates.
Segmenting with tags from the start pays off later, because it lets you send relevant emails instead of blasting everyone with everything.
Step 3: Send Your First Campaign
Create a campaign, write it with rich formatting, and personalize it using merge tags like {{first_name}} and {{company}} so each email feels one-to-one. You can send to your whole list or just specific tags, fire off a test to yourself first, and schedule it for later. After it sends, you’ll see per-campaign stats for how many went out, opens, and clicks.
Step 4: Set Up an Automation
This is where email starts working while you sleep. Automations follow a simple shape: a trigger, optional conditions, then a series of steps. A classic example is a welcome sequence: when a contact subscribes, wait a day, send a welcome email, wait three more days, send a follow-up.
Triggers include things like a form submission, a tag being added, a new subscriber, a user registering, and, for stores, a purchase. Steps can send emails, add or remove tags, wait a set time, or update a contact’s details. Set it up once and it runs for every new contact automatically.
Step 5: Capture Subscribers From Your Forms
An email list only grows if people can join it. Send Emails connects to your forms so new leads flow straight in, tagged and ready for a welcome sequence. It integrates first-class with BeautyForms Form Builder and also works with Contact Form 7, WPForms, Gravity Forms, Ninja Forms, Fluent Forms, and Formidable, plus native WordPress registration and comment forms.
Step 6: Connect Your Store (WooCommerce or EDD)
If you sell online, this step turns email into measurable revenue. Send Emails syncs your paying customers into contacts along with what they bought and how much they spent. You can trigger automations on a first purchase or a specific product, and see revenue attributed to the emails that earned the clicks, right on the dashboard. That’s the number that tells you email is actually working.
Step 7: Get Deliverability Right
Here’s the honest part most guides skip. By default, WordPress sends email through your host’s mail system. For a small, engaged list that’s usually fine. But hosts aren’t built for bulk sending, so as your list grows, some messages start landing in spam or not arriving at all.
The reliable fix is to route your email through a proper sending service. This is the main thing the paid Send Emails Pro add-on handles: it adds SMTP plus one-click presets for Amazon SES, SendGrid, Mailgun, and Postmark, so your mail is properly authenticated. It also brings automatic bounce handling (repeatedly failing addresses get skipped so they stop hurting your reputation), double opt-in for cleaner sign-ups, and deeper analytics like per-link clicks and opens by device and country.
The simple rule: start free, and once your list or your revenue grows enough that inbox placement matters, add a sending service through Pro.
Best Practices for Email That Works
- Be consistent. A steady weekly or monthly send builds the habit of opening your emails.
- Give before you ask. Lead with something useful; sell sparingly.
- Never buy a list. It wrecks your deliverability and your reputation. Grow it honestly.
- Use your tags. Relevant, segmented emails beat one-size-fits-all blasts every time.
- Watch your stats. Let opens and clicks tell you what to write more of.
Frequently Asked Questions
Yes. Send Emails is free and covers the full loop: a contacts CRM, campaigns, automations, form integrations, and even WooCommerce and EDD revenue tracking, all from your WordPress dashboard with no monthly fee.
WordPress can send email on its own, but your host’s mail system isn’t built for bulk volume. For reliable inbox delivery, route your email through a sending service like Amazon SES, SendGrid, Mailgun, or Postmark, which Send Emails Pro supports through SMTP presets.
No. You can run newsletters, automations, and revenue tracking entirely from WordPress. Many site owners start with the free plugin and only add a sending service once inbox placement at scale becomes important.
Usually because they’re sent through your host’s default mail without proper authentication. Using a real sender address at your own domain helps, and connecting an email-sending service that authenticates your mail is the most reliable fix.
Consistency matters more than frequency. Pick a schedule you can sustain, whether that’s weekly or monthly, and stick to it so your audience knows when to expect you.
Yes. The free plugin includes automations built as a trigger, optional conditions, and steps, so you can create welcome series, follow-ups, and purchase-based sequences that run automatically.
Yes. With WooCommerce or EDD connected, Send Emails syncs customers and purchases and attributes revenue to the email clicks that drove them, so you can see what your campaigns actually earn.
Final Thoughts
Running email from WordPress used to mean settling for a basic newsletter. Now you can manage your whole list, automate your follow-ups, capture subscribers from your forms, and track real revenue, all without renting your audience from a monthly service. Start free, and scale into a sending service only when your list demands it.
If you’d like to try it, install Send Emails for free and send your first campaign today. For more WordPress how-tos, browse the WPFresher blog, and tell me in the comments what you’d automate first.
Discover more from WPFresher
Subscribe to get the latest posts sent to your email.