AI writing tools are everywhere now, and most of the content they produce sounds exactly like what it is: generic, soulless, and forgettable. Publish enough of that and you won’t just bore your readers, you’ll quietly damage your search rankings too.
But that’s not an AI problem. It’s a lazy-use problem.
Used well, AI can cut hours off your writing process, help you beat the blank page, and still produce posts that rank and sound like you. The trick is knowing where the tool helps and where you, the human, still have to show up.
In this guide, I’ll walk you through how to write blog posts with AI directly inside WordPress, step by step, and just as importantly, how to do it without sabotaging your SEO. No code, no leaving your dashboard.
Does AI Content Hurt Your SEO?
Let’s clear up the biggest worry first, because it’s the question on everyone’s mind.
No, AI content does not automatically hurt your SEO. Google has been clear that it rewards helpful, original content regardless of how it’s produced. What gets penalized is low-quality, unedited content created purely to manipulate rankings, and that can be written by a human just as easily as a machine.
So the rule is simple. If you publish raw AI output with no editing, no fact-checking, and nothing original to say, you’re taking a real risk. If you use AI to draft and accelerate, then add your own expertise, examples, and voice before publishing, you’re completely fine. AI is your assistant, not your replacement.
Keep that distinction in mind through every step below and you’ll stay on the right side of it.
What You Need to Get Started
You only need two things: a WordPress site and an AI writing tool.
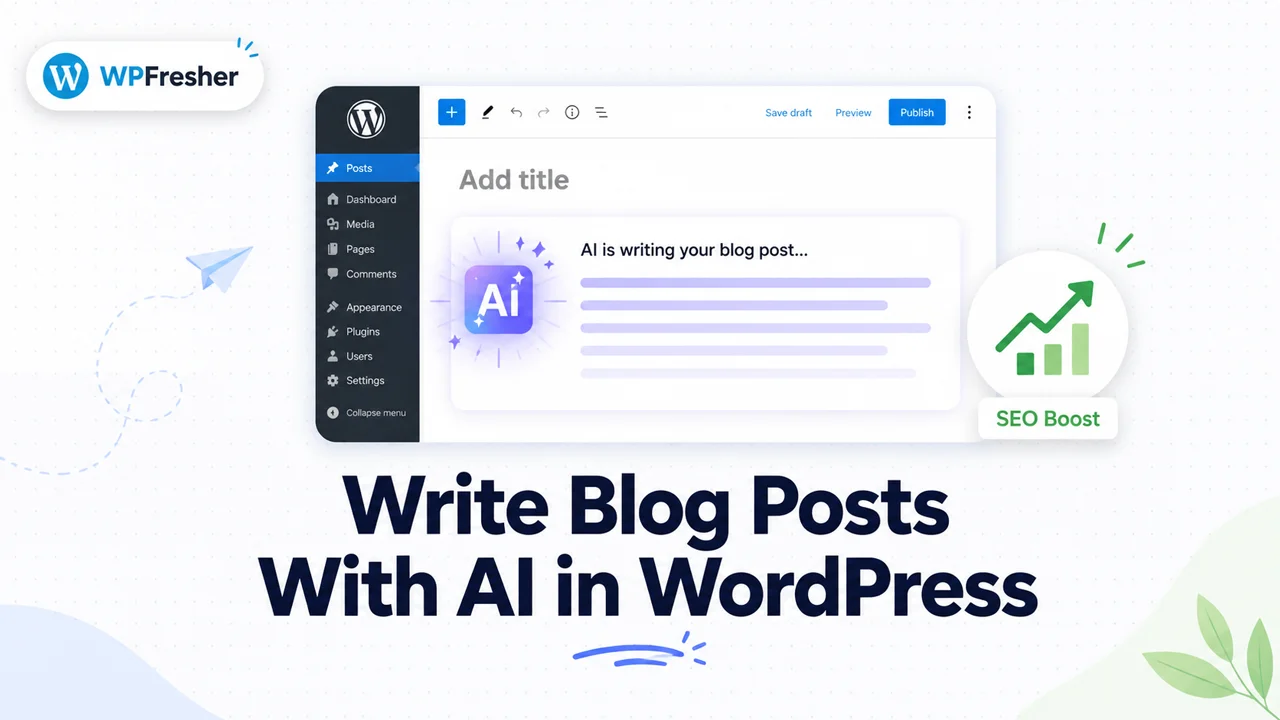
You could write your prompts in ChatGPT, then copy and paste everything back into WordPress, but that means constant tab-switching and manual formatting. A cleaner approach is a plugin that brings AI generation right into your editor. For this guide I’ll use AI Content Writer, a free plugin that connects to models like ChatGPT, OpenAI, and Google Gemini, so you can generate and publish without ever leaving your dashboard.
Let’s set it up.
How to Write a Blog Post With AI in WordPress (Step by Step)
Step 1: Install AI Content Writer
In your WordPress dashboard, go to Plugins → Add New Plugin, search for AI Content Writer, then click Install Now and Activate. The free version is enough to follow along with this whole tutorial.
Step 2: Connect Your AI Provider
Open the plugin settings and connect your preferred AI provider by adding an API key, which you generate from your account with OpenAI or Google. The plugin walks you through where to paste it. This is what lets the plugin actually talk to the AI model and generate content for you.
Step 3: Generate Your First Draft
Now the fun part. Give the AI a clear topic or keyword and let it produce a draft. The quality of what you get back depends almost entirely on the quality of your instruction, so be specific.
A weak prompt like “write about coffee” gives you mush. A strong prompt gives you something usable:
Write a 1,000-word beginner’s guide titled “How to Brew Better Coffee at Home.” Friendly, practical tone. Include the keyword “home coffee brewing.” Use short paragraphs and clear subheadings.
Tell the AI who it’s writing for, what tone to use, the rough length, and the keyword you want to target. The more direction you give, the less editing you’ll do later.
Step 4: Generate Images (Optional)
Posts with visuals hold attention better and give you alt text to optimize. Many AI writing tools, including the Pro version of AI Content Writer, can generate matching images so you don’t have to go hunting through stock photo sites. If your tool offers it, add a relevant image or two while you’re here.
Step 5: Edit and Add Your Voice (Don’t Skip This)
This is the step that separates content that ranks from content that sinks.
Read the draft out loud. Does it actually sound like you, or like a robot reading a brochure? Cut the filler. Fix anything that’s vague or generic. Then add the things AI simply can’t invent: a personal story, a real example from your own experience, a strong opinion, a tip you learned the hard way. This is the “experience” part of Google’s E-E-A-T that genuinely moves the needle, and it’s where your post earns the right to outrank the dozen identical AI articles on the same topic.
Step 6: Optimize for SEO
Before you publish, tidy up the SEO basics. Make sure your focus keyword appears in the title, the first paragraph, and at least one subheading, as long as it reads naturally. Write a clear meta title and description. Add internal links to your related posts and a relevant external link or two. If you use an SEO plugin like Rank Math or Yoast, run a quick check.
Step 7: Publish or Schedule
Once you’re happy with it, hit publish, or schedule it for later to keep a consistent posting rhythm. That’s a complete, SEO-ready blog post, written in a fraction of the usual time.
Scaling Up: Bulk Generation and Auto-Posting
Once you’re comfortable with single posts, you might want to produce content at a steadier pace, especially if you run multiple sites or a content-heavy blog.
This is where automation features earn their keep. The Pro version of AI Content Writer adds Campaigns for generating articles in bulk, plus automatic posting and scheduling, so you can line up a batch of drafts and publish them on a set cadence. For comparison, most automated AI content tools charge $10 to $30 per month, while AI Content Writer Pro starts at $39 per year, which works out cheaper annually than a single month of some rivals.
One honest warning, though. Automation multiplies whatever you feed it. If your process produces good, reviewed content, it scales good content. If you flip everything to full auto-pilot and never look at the output, it scales the exact kind of thin content Google is trying to bury. Use bulk generation to create drafts faster, not to remove humans from the loop entirely.
Best Practices for AI Content That Actually Ranks
A few habits to keep your AI-assisted content working for you, not against you:
- Always edit before publishing. Raw output is a starting point, never the finished product.
- Add original value. A personal angle, real data, or first-hand experience is what makes your post worth ranking.
- Fact-check everything. AI can state wrong things with total confidence. Verify names, numbers, and claims.
- Match your brand voice. Consistency builds trust with both readers and search engines.
- Don’t publish in bulk blindly. Quality beats quantity every single time, and it always will.
Frequently Asked Questions
No. Google judges content by quality and helpfulness, not by whether a human or an AI wrote it. Thin, unedited content made only to game rankings can be penalized, but well-edited, genuinely useful AI-assisted content is treated the same as any other good content.
Yes. AI Content Writer offers a free version on WordPress.org that lets you generate blog posts directly inside your dashboard once you connect an AI provider. Paid plans add bulk generation, automatic posting, scheduling, and AI images.
Yes. With a plugin like AI Content Writer Pro, you can use Campaigns to generate articles in bulk and schedule them to publish automatically. It’s best to review drafts before they go live to protect quality and your SEO.
It varies. Many subscription tools run $10 to $30 per month. AI Content Writer Pro uses annual pricing instead, starting at $39 per year for a single site, which makes it noticeably cheaper over a year than most monthly competitors.
Only if you make it. AI gives you a solid draft, but the voice, personality, and real-world insight come from your editing. The best results always blend AI speed with a human final pass.
Final Thoughts
AI won’t write a great blog for you, but it will help you write one much faster. Treat it as a fast, tireless drafting assistant, then add the judgment, voice, and experience that only you can bring. That’s the combination that saves you hours and still earns rankings.
If you want to try the in-WordPress method from this guide, you can install AI Content Writer for free and generate your first draft in minutes. When you’re ready to scale up with bulk generation and scheduling, the Pro version handles it.
Found this useful? Browse more WordPress how-tos on the WPFresher blog, and drop your favorite AI writing tip in the comments below.
Discover more from WpFresher
Subscribe to get the latest posts sent to your email.