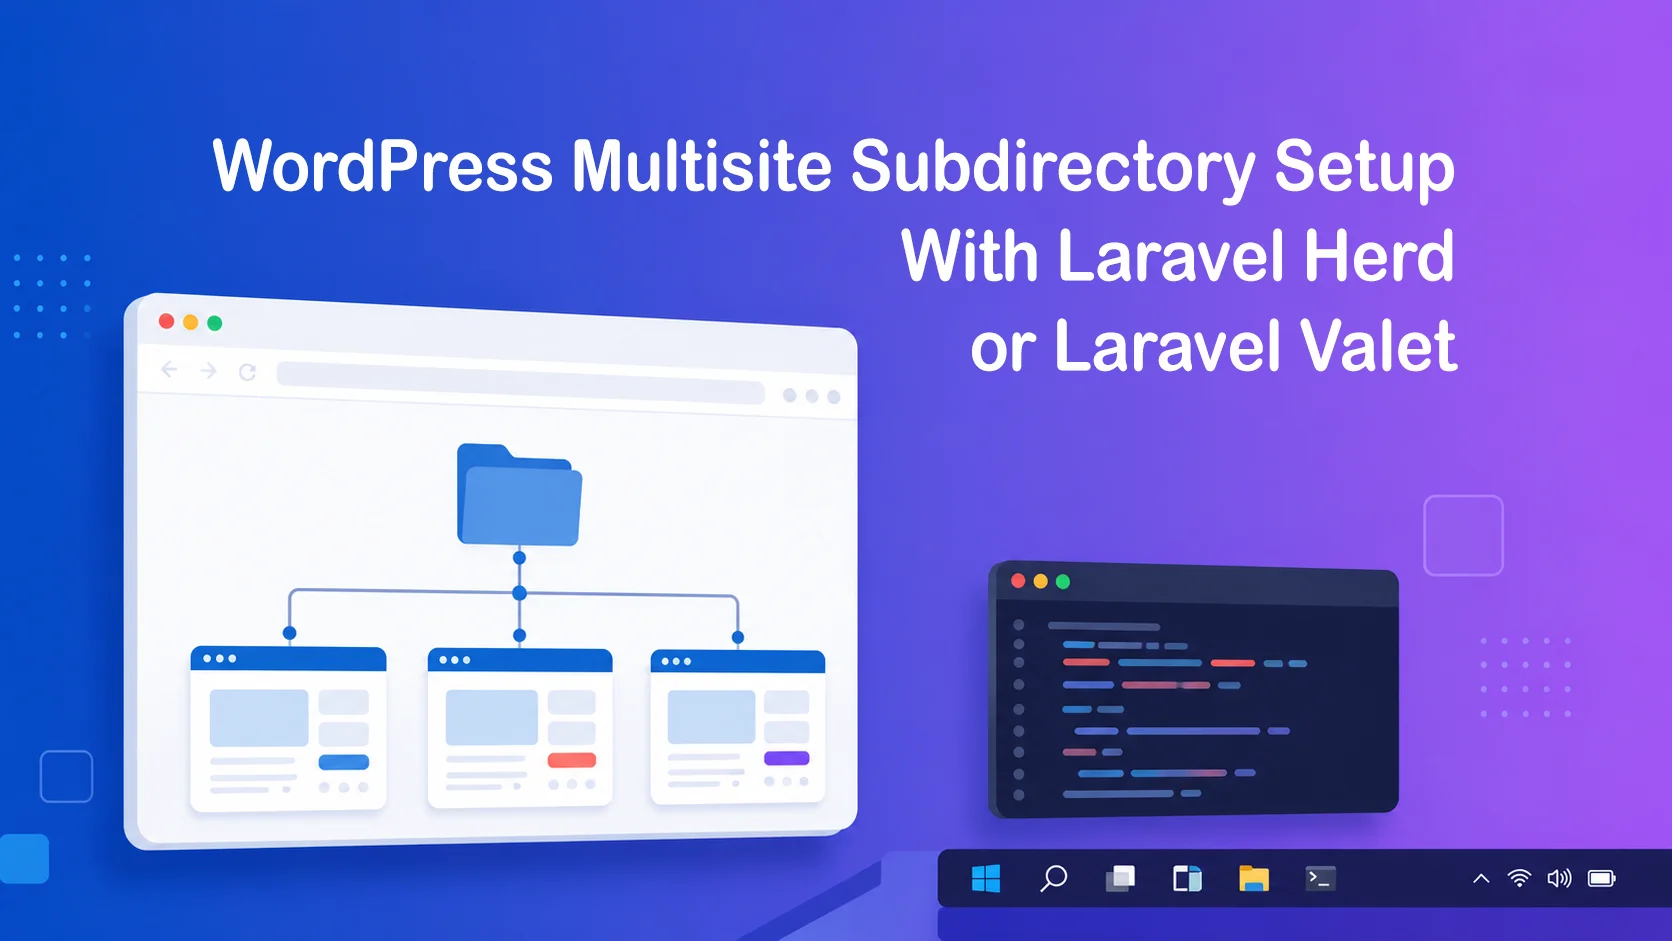
Are you searching for How to Set Up WordPress Multisite With Subdirectories Locally on Windows Using Laravel Herd? If you build WordPress plugins or themes, sooner or later you need to test how your code behaves across a network of sites instead of just one. That is where WordPress Multisite comes in, and if you are developing locally on Windows with Laravel Herd, setting it up with subdirectories has one extra step that most tutorials skip entirely.
In this guide I will walk through the full process, including the part that trips up almost everyone: Herd’s default WordPress driver does not properly route subdirectory based multisite URLs out of the box. We will fix that with a custom driver so your network sites actually load instead of throwing 404 errors.
Why Test Multisite Locally Before Going Live
If you are shipping a plugin that other people will activate network wide, testing only on a single site setup is not enough. Things like options tables, capability checks, and admin menus behave differently across a network, and bugs that only show up in multisite tend to surface after a client has already installed your plugin on their production network. Catching that locally first saves you the embarrassment later.
What You Will Need
A working installation of Laravel Herd for Windows, with a WordPress site already parked or linked and loading normally at something like mysite.test. If you have not set that part up yet, Herd’s own onboarding handles it well, so I will assume you already have a working single-site install at this point.
Watch video tutorials on how you can set up WordPress Multisite Subdirectory with Laravel Herd and fix 404 errors, missing the driver package.
Step 1: Enable Multisite Support in wp-config.php
Open the wp-config.php file for your local site and add this line just above the comment that says “That’s all, stop editing”:
define( 'WP_ALLOW_MULTISITE', true );Save the file and reload your site’s wp-admin. You should now see a new option under Tools called Network Setup.
Step 2: Run Network Setup and Choose Subdirectories
Go to Tools, then Network Setup. WordPress will ask you to choose between subdomains and subdirectories. Pick subdirectories. This is also the point where WordPress shows you two blocks of code to add, one for wp-config.php and one for .htaccess.
Add the wp-config.php block, which will look something like this:
define( 'MULTISITE', true );
define( 'SUBDOMAIN_INSTALL', false );
define( 'DOMAIN_CURRENT_SITE', 'mysite.test' );
define( 'PATH_CURRENT_SITE', '/' );
define( 'SITE_ID_CURRENT_SITE', 1 );
define( 'BLOG_ID_CURRENT_SITE', 1 );
Skip the .htaccess block entirely. Herd runs on Nginx behind the scenes and does not read .htaccess files at all, so those Apache rewrite rules will do nothing for you here.
Step 3: Log Back Into wp-admin
Multisite changes how WordPress handles authentication cookies, so you will be logged out after saving wp-config.php. Log back in and you will now see a My Sites menu in the admin bar along with a Network Admin area where you can create and manage subsites.
At this point, if you try creating a second site and visiting it, you will likely hit a 404 page or a blank screen. This is expected. Here is why.
The Hidden Problem With Subdirectory Multisite on Herd
Herd’s built in WordPress driver handles single site installs and subdomain based multisite installs correctly, because both of those route every request straight through to a single index.php file in a predictable way. Subdirectory multisite is different. URLs like mysite.test/site-two/some-page need to be resolved against the network’s site table rather than treated as a literal folder path, and the default driver was never built to do that translation. The result is requests for subsites failing to resolve properly even though your single main site works fine.
The fix is a custom Valet driver written specifically for this scenario.
Step 4: Install a Custom Driver for Subdirectory Multisite
Open File Explorer and navigate to your Herd configuration folder. The quickest way is to press Windows key plus R, then paste this path and hit Enter:
%USERPROFILE%.config\herd\config\valet\DriversIf the Drivers folder does not already exist, create it yourself inside the valet folder. The capitalization matters, so make sure it is exactly Drivers.
Next, grab a community maintained driver built for this exact use case. The fanaticdesign WordPress Multisite Subdirectory Valet Driver on GitHub works with both Valet and Herd and supports custom WordPress core paths if your install structure is not completely vanilla. Download the driver’s PHP file (WordPressMultisiteSubdirectoryValetDriver.php) and place it directly inside the Drivers folder you just opened.
Step 5: Restart Herd
Right click the Herd icon in your system tray and restart it, or fully quit and reopen the app. This forces Herd to pick up the new driver file. Custom drivers are not detected while Herd is already running.
Step 6: Test Your Network Sites
Go back to Network Admin, then Sites, then Add New, and create a second site with a simple slug like site-two. Visit mysite.test/site-two/ in your browser. It should load the new site’s homepage instead of a 404 page. Try logging into that subsite’s wp-admin directly too, to confirm the admin routing works as well as the front end.
If everything loads correctly, your local multisite network with subdirectories is fully functional.
Common Issues and How to Fix Them
If subsites still 404 after installing the driver, double check the filename ends in ValetDriver.php and that it actually landed inside the Drivers folder rather than a parent folder by mistake. A driver placed one level too high will simply be ignored.
If you get stuck in a redirect loop after logging in, confirm SUBDOMAIN_INSTALL is set to false in wp-config.php. And if it is set to true while you are using subdirectory URLs, WordPress and your browser will fight over the correct address.
If uploads or media from a subsite are not displaying, this is usually unrelated to the driver and instead comes down to how the theme or plugin references upload paths. Multisite stores subsite media under wp-content/uploads/sites/ followed by a numeric site ID, so any hardcoded upload path assumptions in custom code will break here.
Frequently Asked Questions
Yes. The same driver file works for both, since Herd uses Valet under the hood. The only difference is the folder path, which on macOS is typically inside your home directory’s Library/Application Support/Herd folder instead of the Windows config path shown above.
No. Wildcard DNS and certificates are only required for subdomain-based multisite, since each subsite needs its own resolvable hostname. Subdirectories all share a single domain, so your existing local certificate continues to work without changes.
No. The driver only activates for sites where it detects WP_ALLOW_MULTISITE or MULTISITE defined in wp-config.php. Regular single-site WordPress installs continue to be served by Herd’s default driver as usual.
Remove the driver file from the Drivers folder and restart Herd to fall back to the default behaviour. To fully undo multisite itself, you would need to restore your wp-config.php and database from a backup taken before you started, which is why backing up first is worth the extra two minutes.
Wrapping Up
Once this is set up, you have a fully working local sandbox for testing how your plugins and themes behave across a network of sites, without needing to push anything to a staging server first.
If you are building plugins meant for network activation, this local setup is one of those things worth doing once and reusing for every future project, since the driver stays in place for any new multisite install you spin up afterward on the same machine.
Want more WordPress tips like this? Check out our other beginner guides on the WPFresher blog.
Discover more from WpFresher
Subscribe to get the latest posts sent to your email.